A progression
-
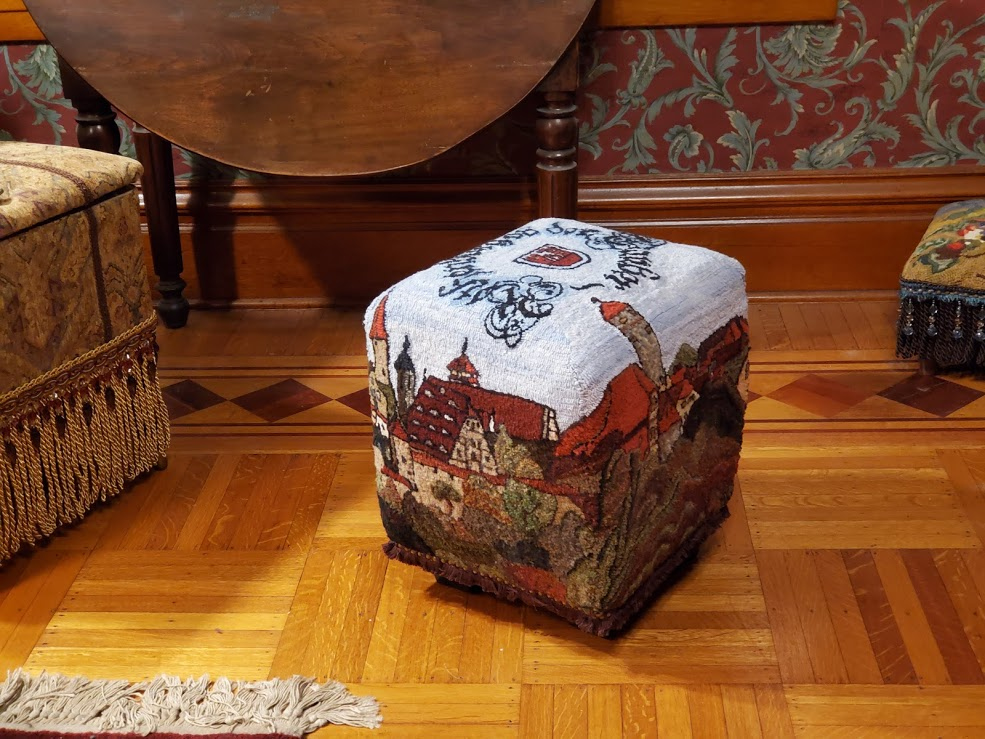
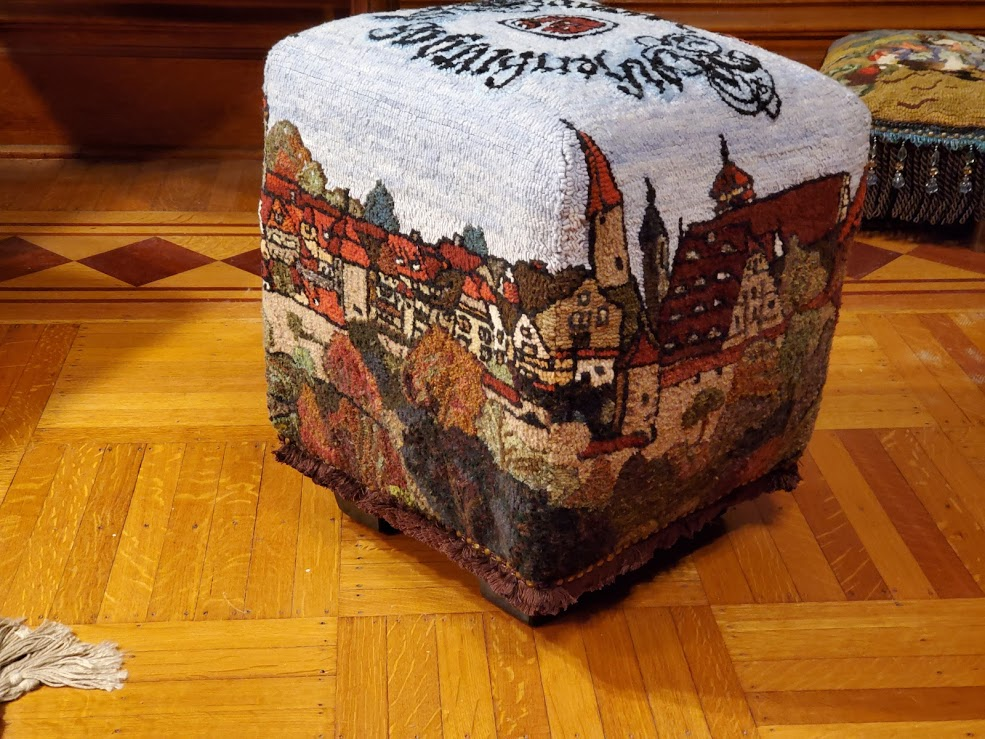
Using a panorama pic hubby took while we were in Germany, I hooked a 3D version of it as a souvenir. Lining up the buildings on each side was a challenge, but it came out alright. Had to make my own technique to really snug the seams together. The experts said to rehook the areas of the seams with additional wool strips. They were only using designs that were unpatterned at the seams, whereas I had patterning all the way along every blessed seam. I said 'no way', and got my upholstery thread and curved needle to cinch those seams up nice and snug. No additional wool needed, just some hand strength.
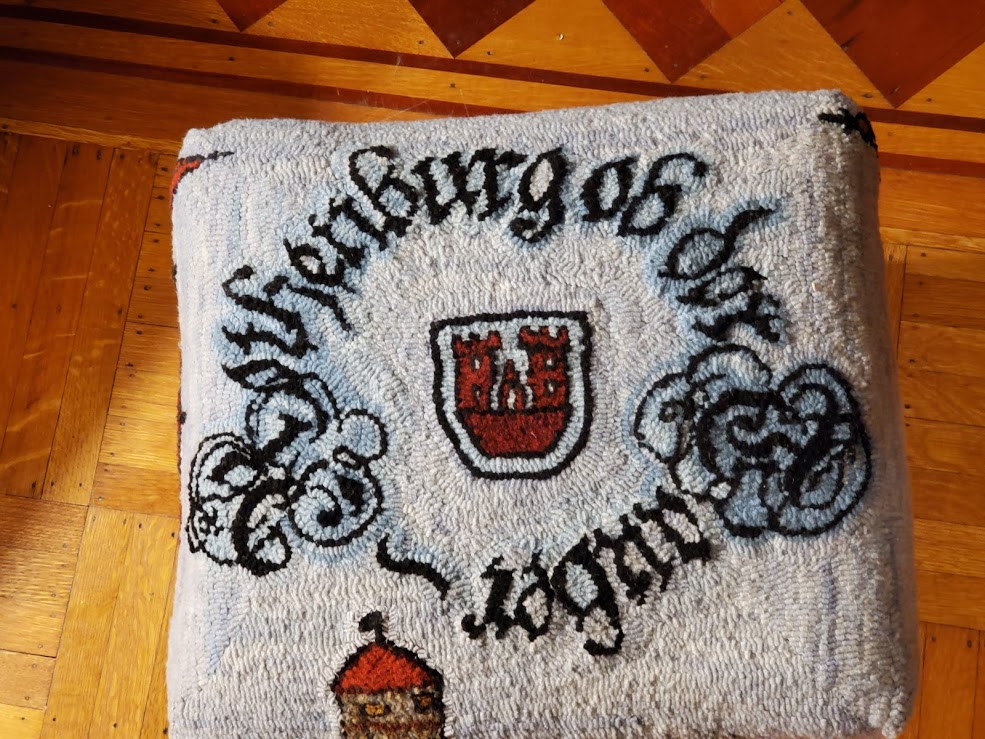
The top includes the name of this walled city, Rothenburg ob der Tauber, with the city seal in the center. It now resides by the fireplace, and is big enough to serve as a low stool for a kiddo.
Next is the Mary Poppins carpet bag.
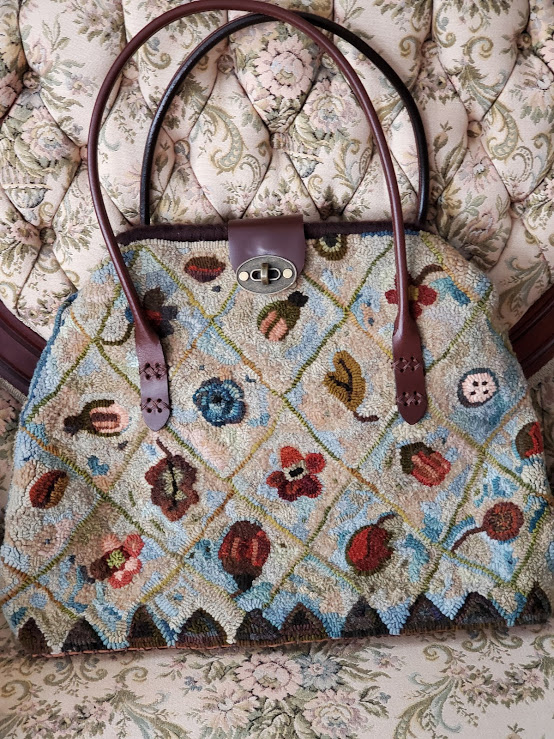
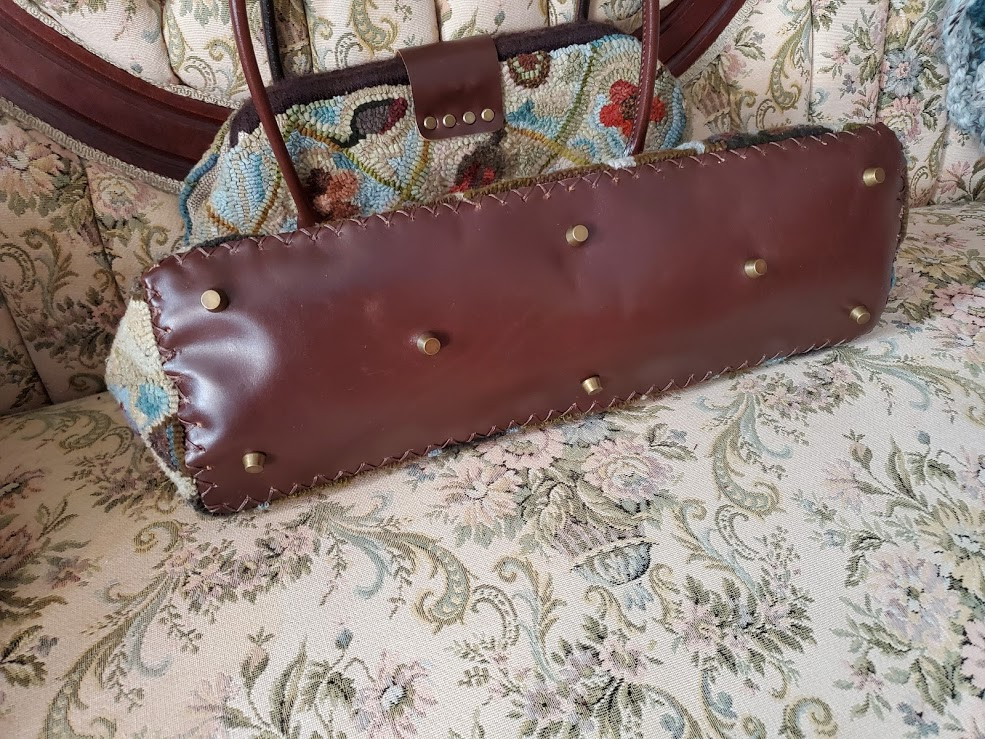
The recommended design had wool fabric straps for handles. I said no. Must be leather.
It said a wool fabric base. I said no. Must be leather with little brass feetses.
It said to leave the linen uncovered around the opening. I said no. Must have binding like a rug edge.
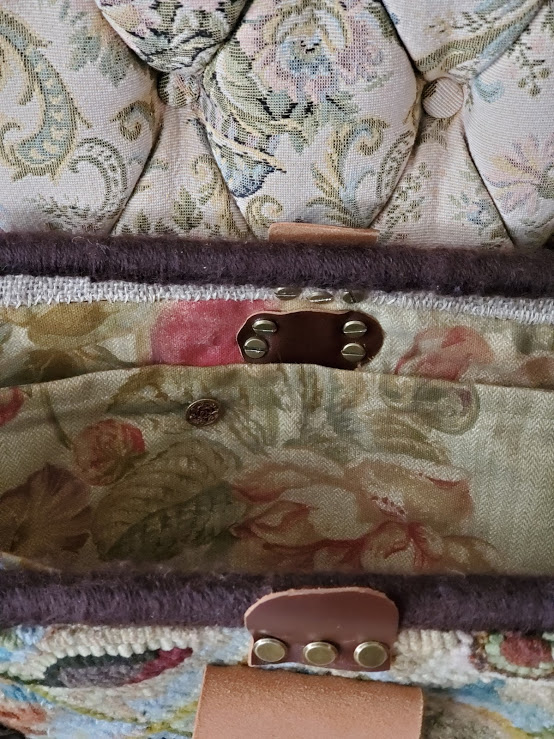
It said nothing about a closure or tabs to open it, thus protecting the opening edges. I said no. Must have leather and brass closure and tabs. Added interior pockets with magnetic closures and antique buttons for trim.Outer side seams were again to have the addition of more wool in the ditch of the seams. I said no. I used the same seam technique as on the Rothenburg cube to make the side seams come together completely.
I'm such a fussy one, aren't I? LOL
And then ....
-
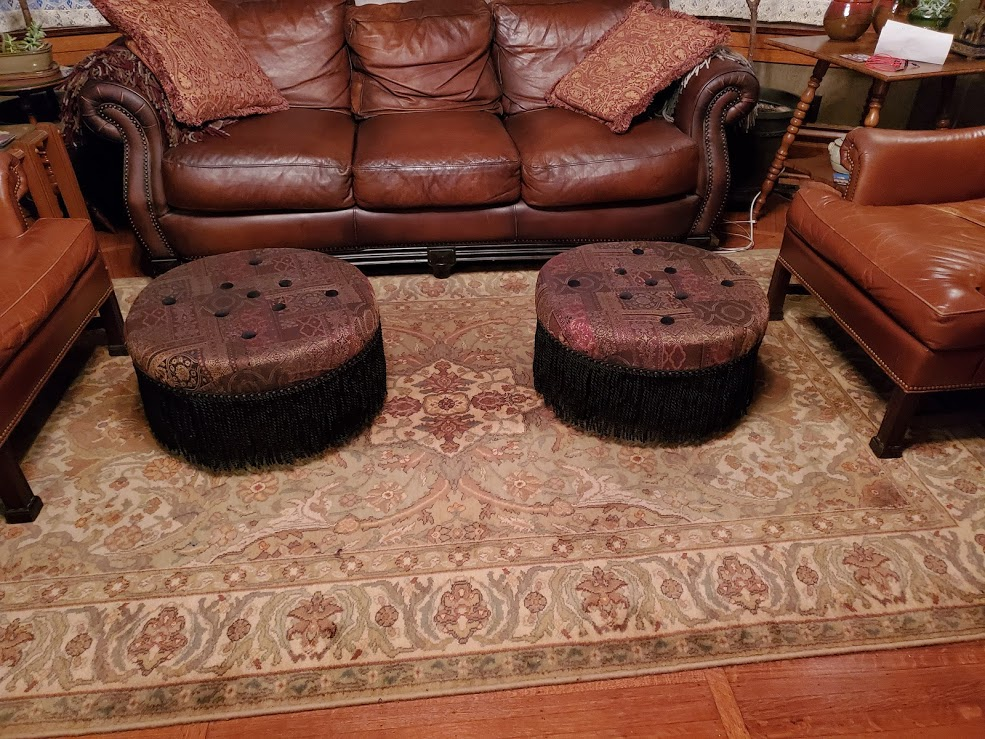
Before tackling the rocking chair, I quick made new footstools for the living room to replace a gigantic square thing that was looking rather worn.
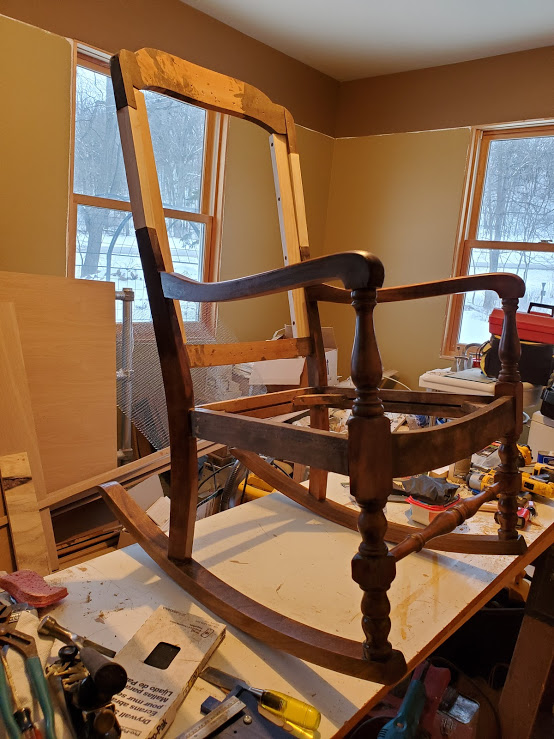
Back to the chair -
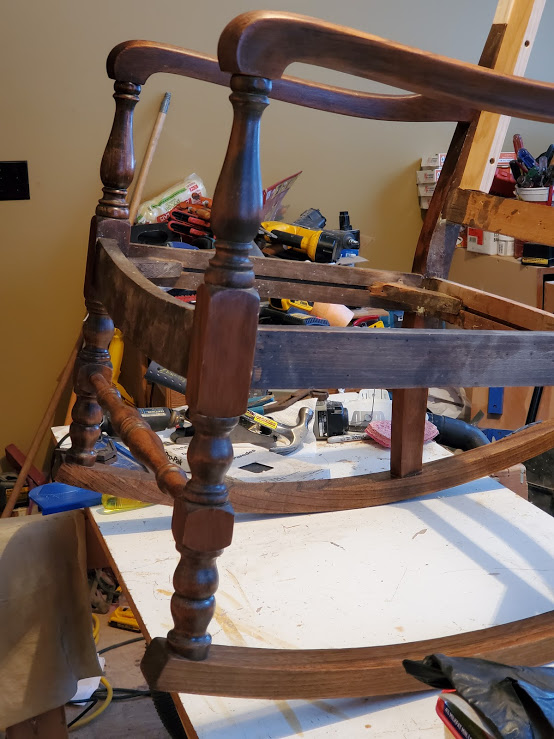
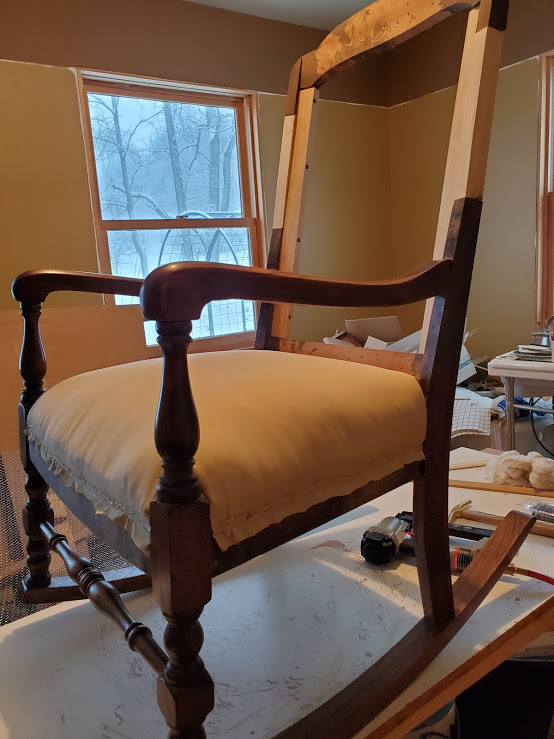
Stripped the rest of the paint. Made some repairs, added bracing, lengthened the back to make it taller.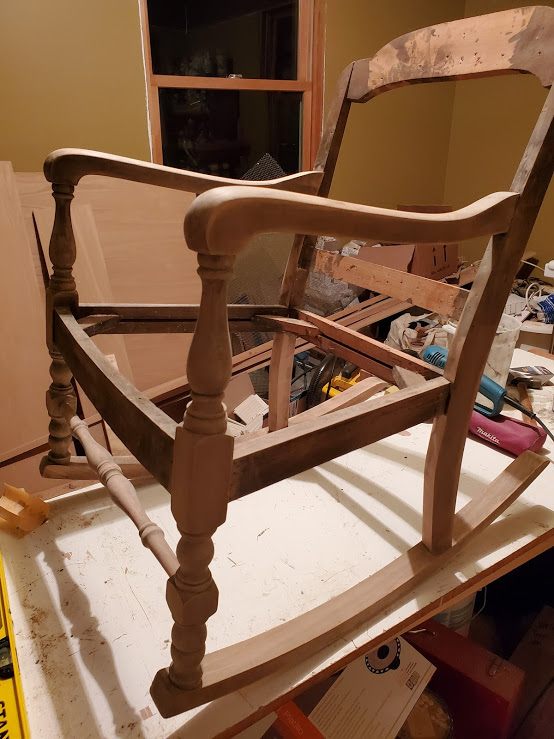
Fumed the wood to darken it. Started finishing with linseed oil, then 6 layers of shellac. Much sanding.
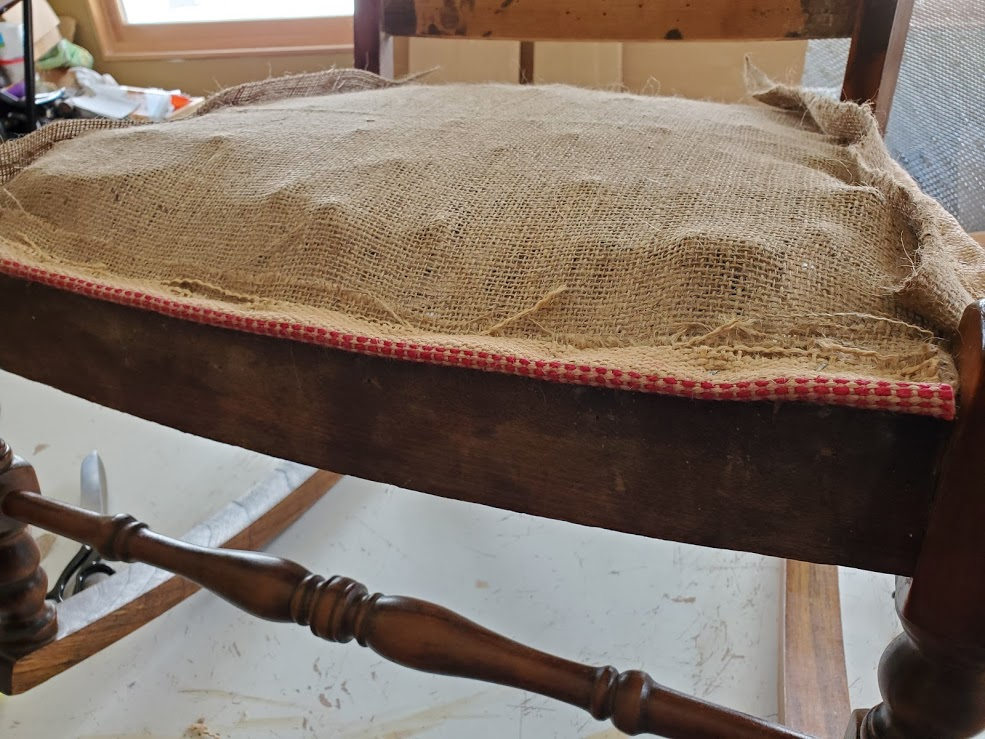
New springs are tied together. Burlap on top, with additional tying through the burlap. Low bumper edge that was later increased.
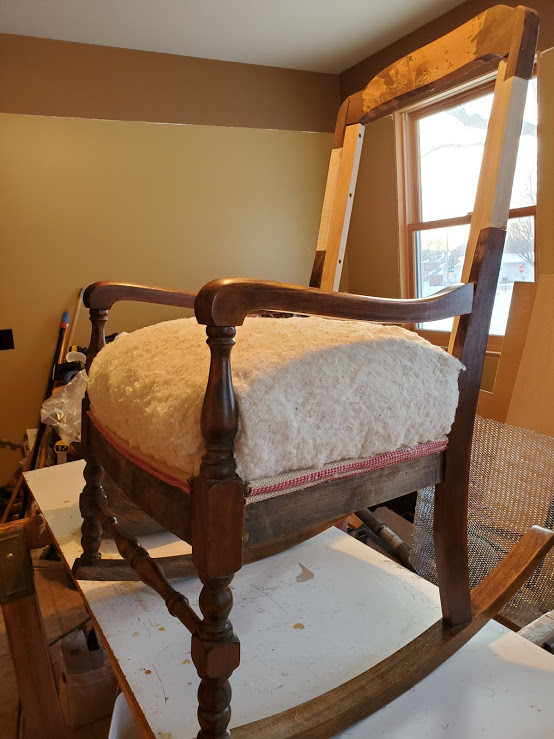
Used real horsehair stuffing and cotton batting for seat cushioning.
Fabric stapled to create seat shape.
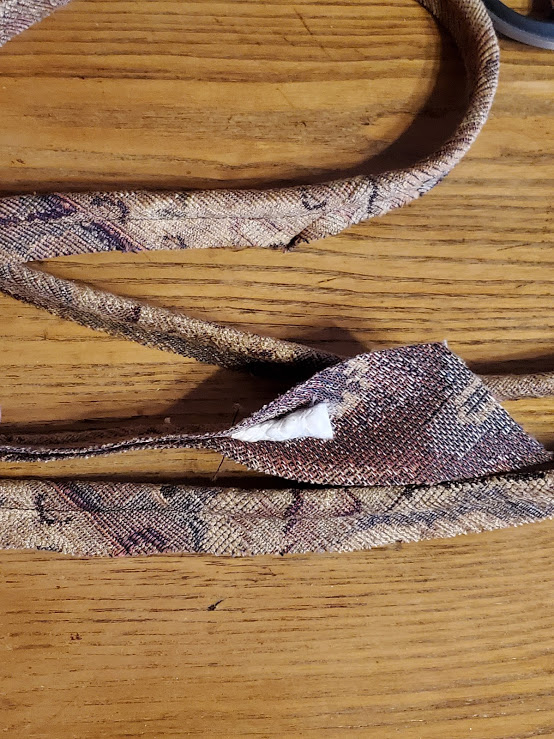
Sewed cording for back.
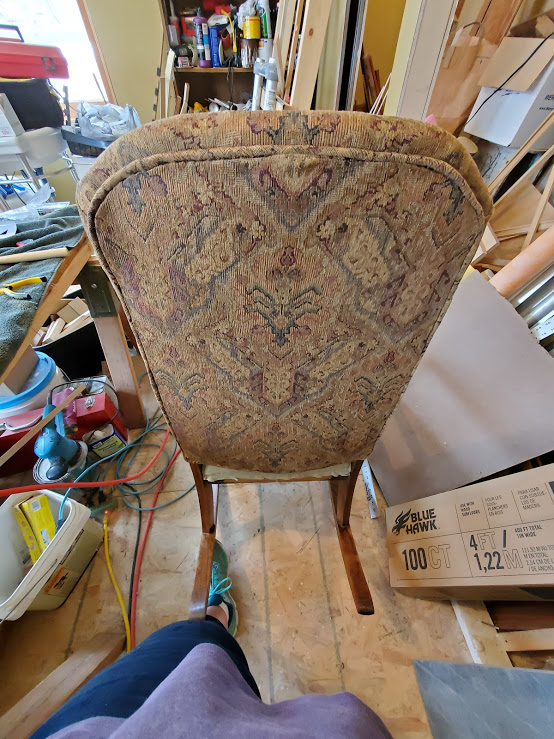
Upholstered back
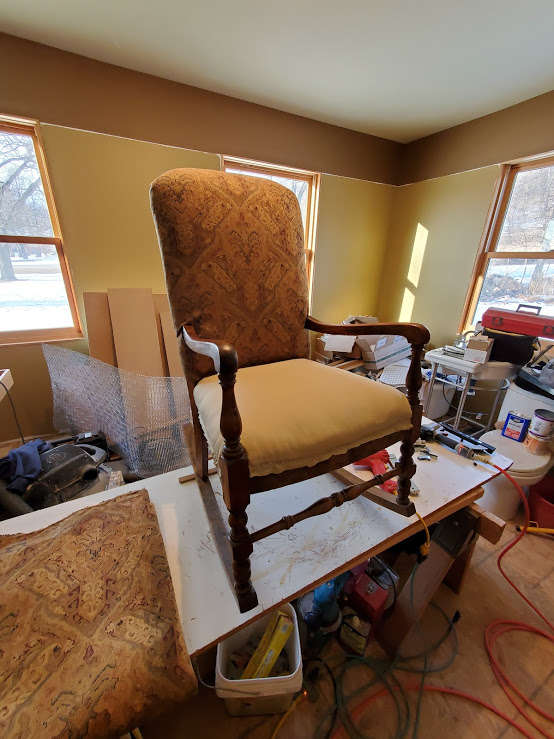
Put leather on seat. Nailed trim nails on all four sides.
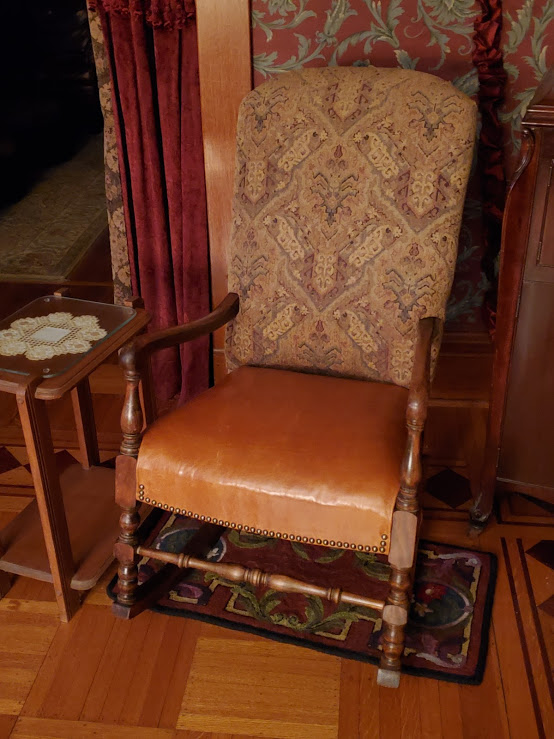
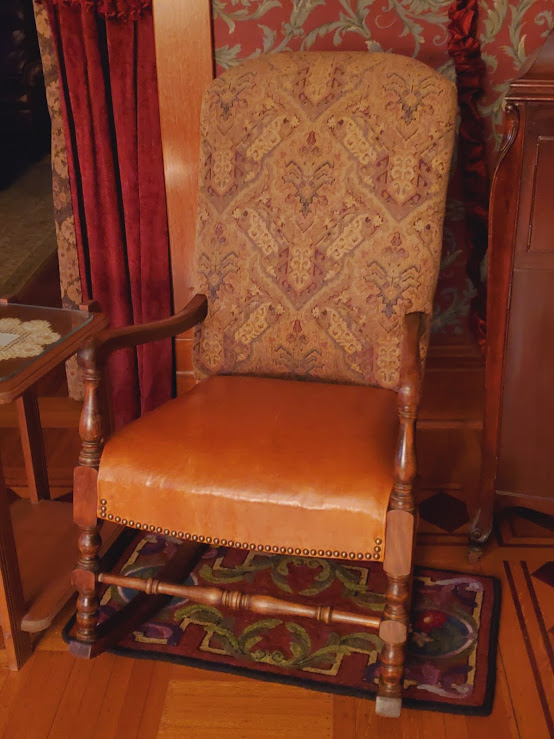
Color not accurate in this pic.
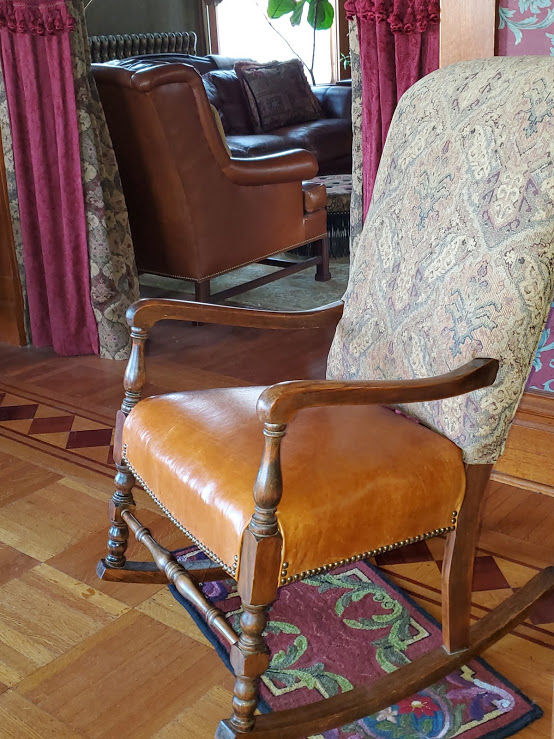
Tis done!
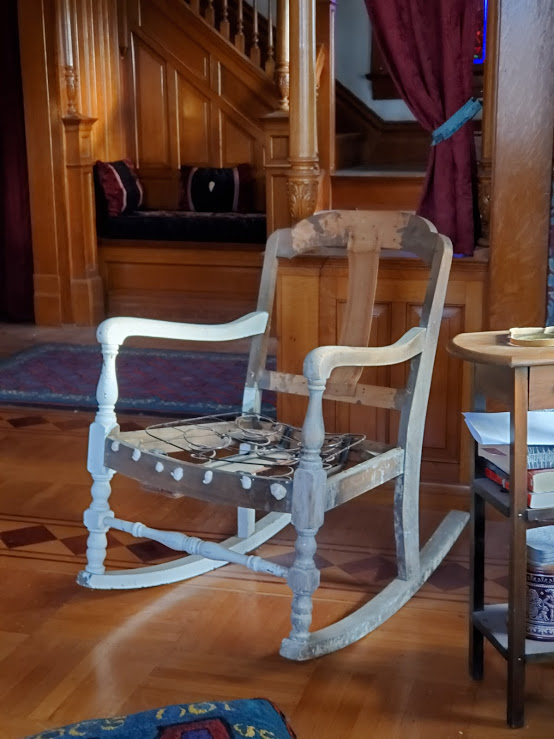
Before:

After:

-
Remarkable how something can look old, without looking "old," if you catch my meaning. Fantastic work, Brenda!
-
Remarkable how something can look old, without looking "old," if you catch my meaning. Fantastic work, Brenda!
-
The idea of lengthening the back was fascinating. I liked how it was done. It did look like a "ugly little spud," but with the taller back, the proportions are so much better.
"Now look here, you Baltic gas passer... " - Mik, 6/14/08
The saying, "Lite is just one damn thing after another," is a gross understatement. The damn things overlap.
-
The idea of lengthening the back was fascinating. I liked how it was done. It did look like a "ugly little spud," but with the taller back, the proportions are so much better.
@george-k said in A progression:
The idea of lengthening the back was fascinating. I liked how it was done. It did look like a "ugly little spud," but with the taller back, the proportions are so much better.
Yeah, that created a bit of discussion with hubby. He was rather skeptical of the idea, and I explained how we could do it and test it withe dowels put into holes at the cut point. Once we had the dowels in the spaces, he was convinced. That quick mock up proved how much better it would look.
Hubbies need to just trust their wimmenz' ideas. If we were smart enough to marry them, then we're smart enough for just about anything. -
Oh, and hubby now adores this chair. It's his 'watching the sunset' chair. It's the best spot in the house for watching a lovely sunset, and he gravitates to the rocker every evening now.
He says the horsehair seat cushioning is very comfortable. If there is ever a whinny while he's sitting there, he can blame it on the horses.

-
That's insanely great work, brenda. Seriously.
-
Awww .. thank you for your kind words. I'm still a n00b on this stuff. As you can see, that hasn't stopped me from trying. I learn something from every project that helps me with the next project.
The cube stool helped me with the Mary Poppins bag. The leather work on the bag helped me with the leather chair seat. The footstools helped with the chair back. And on it went. I selected the sequence of projects to hopefully help me learn and get ready for the next one.
I'm very fortunate to have a hubby who wants this to happen. He gave me a starter set of upholstery tools for Christmas. Just recently, he suggested I should go ahead and get an upholstery pneumatic stapler to use, instead of his air stapler. The new one uses staples with a wider crown, which is less prone to tearing fabric and leather. I love it!

-
A funny thing -
That ugly little rocker has been with us in that unfinished state for almost 35 years. I bought it at an auction a couple blocks from our first house in Michigan.
After trying to remove the firmly adhered paint, I set the project aside, planning to get back to it some day.
It went with us when we moved from Michigan to Ohio, then Ohio to Minnesooooooota, and has been nagging me for decades. For some reason, I just wouldn't let it go, or it wouldn't let me go.It's the oddest thing now to have it done. Had I done it 35 years ago, there's no way it would look like this. It would just be the ugly little spud in a new frock, but still homely as heck.
I'm glad I kept it, and glad I waited.
-
The idea of lengthening the back was fascinating. I liked how it was done. It did look like a "ugly little spud," but with the taller back, the proportions are so much better.
@george-k said in A progression:
The idea of lengthening the back was fascinating. I liked how it was done. It did look like a "ugly little spud," but with the taller back, the proportions are so much better.
BTW, I designed the extension construction to lengthen the back. Hubby was impressed with the engineering and simplicity of it all.
When I can impress hubby, that's a mighty fine day.
Hello! It looks like you're interested in this conversation, but you don't have an account yet.
Getting fed up of having to scroll through the same posts each visit? When you register for an account, you'll always come back to exactly where you were before, and choose to be notified of new replies (either via email, or push notification). You'll also be able to save bookmarks and upvote posts to show your appreciation to other community members.
With your input, this post could be even better 💗
Register Login